Printing the Tabs
Updated
08/03/21
FastTrack for the Web provides printing support:
On the Spreadsheet Tab, Family Tab, and Issue Lists
- Right-click on the what you want to print and select Print.
- Alternately, if you are unhappy with the results, then right-click on the
list and select Full Spreadsheet. This will sent the FastTrack spreadsheets to
Excel where you have all the print options in the world.
The Chart Printing worked on Windows versions 8.1 and lower, but
later most must use the work around below.
This suggestion was made by lon time FastTracker D.S.We really appreciate her
help. This may or may not work on your system, but please call Support if it
fails and let us know. It did work on all our in house machines at FastTrack.
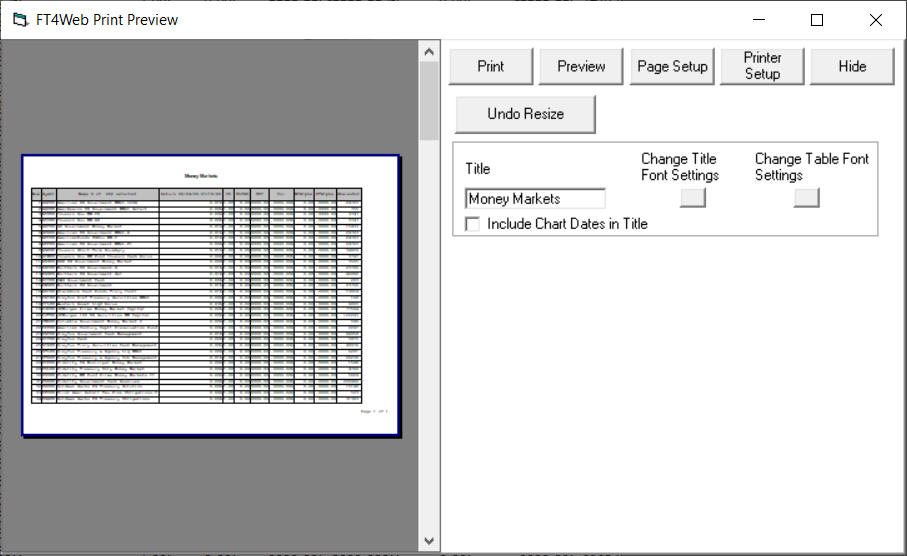
- Maximize the FT4Web Print Preview window (Click the box in the
upper right of the window just like any window.)
- Click the Preview Button. The window gets small again.
- Maximize the FT4Web Print Preview window (again)
- Click the
Preview Button (again). The image appears in the Print Preview
- Click Print Now button. The page setup page options may not
work, but the screen colors are handled properly. (Black background
is removed.)
If you have Windows 8.1 or earlier We include this documentation.
When the Print Preview Window is Visible . . .
You MUST hit the Print Preview Button to see the image
before printing. |
Appearance Suggestions
With the mouse in the center of the chart, right-click and
select Appearance. Consider making your your chart lines thicker. This is especially true when printing
charts for a projector presentation. If printing on paper, you should set
the background to White.
Right-clicking the Colorbar at the bottom gives you color
options. Changing a line color makes that same color all over FT4Web change.
Also, Right click on any screen text to select a larger
font. The month names near the bottom of the chart cannot be resized.
Buttons
- Print Now
- Sends the page to the printer with
current selections in force.
- Preview - Shows a print preview of thepasge with
the current selections. After changing aspects of the printed chart, click the print
preview button to see the new printout.
- Printer Setup - Opens the standard Windows Print dialog box to select a
printer and to adjust your printer's settings.
- Page Setup - Use to adjust paper size, margins, and orientation
(portrait/landscape).
- Hide/Close/Minimize - Hide makes the printing dialog (not visible and
not on task bar), but changes nothing else. If you click the close box in the upper right
corner, the printing dialog will disappear (not visible, not on the task bar), and restore
the charts to their original condition (full color). If you click the minimize box (-) in
the upper right, the printing dialog will be hidden but appear in the task bar but changes
nothing else.. In all cases, the contents and text are retained until you shut
down FT for Windows.
- Zoom In/Out/Actual
- Allows you to view detail by zooming in and page
layout by zooming out. Zooming DOES NOT affect the printed image. "Actual" most
closely matches the size of the final printout. All printers print at higher resolutions
that video displays can reproduce. The printed image will be less "blocky" than
the screen.
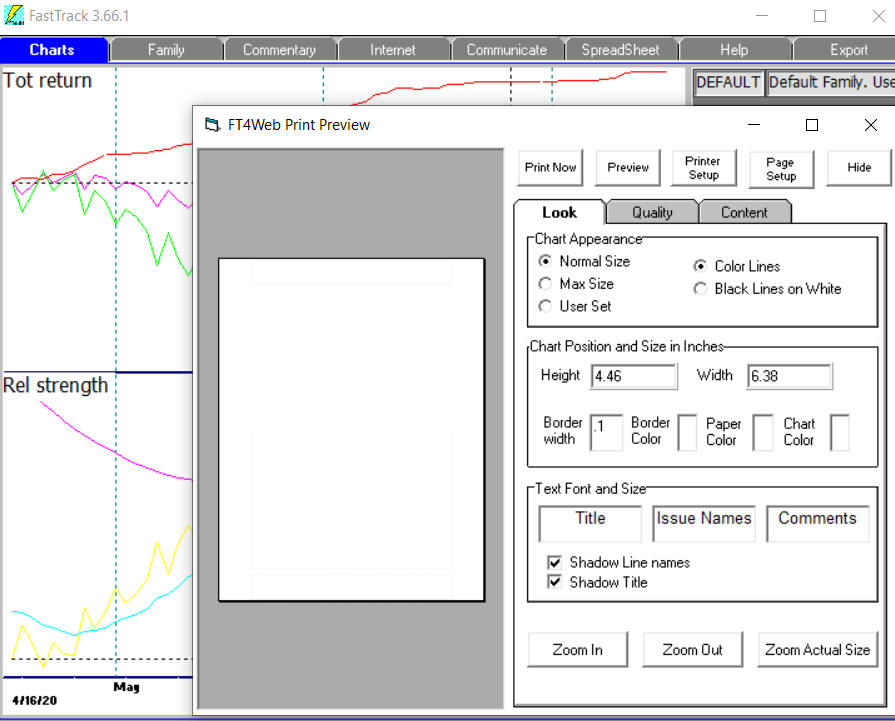
 Look
Tab Look
Tab
This tab contains controls for changing the the "look" of the printed pages
including background, position, size, and color of the printed chart.
Chart Appearance (no longer supported)
- Color Lines / Black Lines on White - Switches between printing a color
or black and white chart
- Max Size / Normal Size - Max Size adjust the chart to fill as much of
the page as possible. Normal Size prints the chart using the user defined chart size.
- The margins set (Click the Page Setup button) are used until you manually change
them.
- To print the maximum size graphic. Set all margins to 0. If "0" isn't a valid
setting for your printer, the "0" the minimum margin required by your
printer's physical capabilities will be used.
- Be sure to click the Printer Setup button and set the right printer before clicking
Preview. Many aspects of the previewed image and the printed page are affected by the
printer chosen.
Chart Position and Size
- Border Width - Adjusts the size of the frame printed
around a chart. The measurements are in inches.
- Border Color - Controls the color of the chart frame.
Clicking this square will bring up a dialog box which will allow you to
select a different color.
- Height
/ Width - Defines the chart size
in inches. To control other aspects of the page margins, etc. click the
"Page Setup" button.
- Paper Color - Changes the color of the page on which the
chart is printed. Clicking this square will bring up a dialog box which will
allow you to select a different color.
- Chart Color - Temporarily changes the background of the
chart for printing purposes. When you are finished and exit by clicking the
close button (X) in the upper right corner of the printing dialog, the chart
will redraw with its original colors.
Text Font and Size
- Shadow Issue Names/Title - If checked, the printed
characters will have a shadow that makes them standout from the background.
The shadow color is picked automatically. Shadows are NOT used for Black and
White.
- Change the fonts and colors of the fonts by clicking on the "Title", Issue
Names", and "Comments" boxes which show a sample of the selected font. The
actual word in the Title, Issue Names, and Comments are set on the "Content
Tab".
Quality Tab
This tab determines the print quality of the image. In general, poorer print quality
uses less printing ink/toner and takes less time. Not all printers support multiple levels
of quality. If this is the case for your printer, the options will be grayed out.
 Content
Tab Content
Tab
These features not supported above Windows 8.1
This section contains controls which determine which options are shown along with the
image of the current FastTrack tab. You can print any tab, not just the chart tab.
- Show Title - If checked, the title will be printed.
- Show Comments - If checked, the "Comments to be printed" is
printed.
- Show Issue Names Below Chart - If checked, prints the Issue Names. You
probably would check this only if you are printing the Chart Tab.
- Show Line Names Inside Chart
- Prints the security names in a list in
the upper left corner of the chart.
- Use Background Graphic - If Checked, the image contained in
Background.WMF is placed on the paper underneath the chart and other elements. Use a
graphics package like CorelDraw, Freelance, etc., to make a WMF file of your own design if
you wish. Just replace Background.WMF with your graphic.
- Issue Names - FastTrack will automatically insert the names of the
chart lines. You may edit these names as you wish. Right-clicking changes the font and
size, but not the color.
- Title to be printed - This box holds text which can be used to title
the current chart when printing. The selected title prints directly above the chart.
Right-clicking the text box will bring up options for changing the text font and color.
You can edit the contents of this box if you wish.
- Chart Comments Text Box - This box holds text that can be used to
comment the current chart when printing. You edit the text and say what you want to say.
- Use Graphic - Determines whether or not a background image is displayed
behind the chart. This image is a *.WMF (Windows metafile) saved as
"background.WMF" in the FT4WIN folder You may replace BACKGROUND.WMF with
a different WMF file of your own design.
|